The incentive to shoot spectacular real estate photos is huge when you consider that half of all buyers start their home search online, but not all of us want to hire a professional photographer. Selling your home, unsurprisingly enough, is quicker and more profitable using great pictures. Your photos are the driving force in a buyer’s decision to schedule a showing.
So, how do you maximize profitability while minimizing time on the market using photography?
Most of us don’t have photography know-how or a premium DSLR camera and tripod. This article is for those who want to understand why professional-looking real estate photography is essential. It’s also for those who don’t have access to thousands of dollars worth of equipment. So if you own a decent camera—like a newer iPhone or Samsung Galaxy—AgentStory will show you how to sell your home quickly by creating breathtaking photos in a snap.
Why Take Good Photos in the First Place?
Beautiful photography can help a home sell quickly and increase the sales price. When you dig a little deeper, the statistics are game-changing.
- A study from a massive national photography network in Chicago found that professional real estate photography sells homes 32% faster than other listings.
- A home with 20 photos sells more than twice as fast as a home with a single image.
- Listings with high-quality photos sell for $934 to $116,076 more than listings with basic images.
- 87% of buyers agree photography is essential on REALTORⓇ websites.
With that being said, you don’t have to pay someone to take photos. Here are four steps to shooting professional-looking images that sell.
Step 1: Preparation Before the Photoshoot
Home preparation is essential when preparing for the photoshoot. So before you start snapping photos, complete the following tasks:
Declutter
Staging your home for potential buyers or a photoshoot should result in a blank canvas. You want the buyer to envision their furniture and personal belongings in the space. Declutter everything: knick-knacks, extra furniture, clothing, pet items, cleaning appliances, etc. The standard is staging your house like a hotel room—free of clutter or distraction.
Remove Personality
Buyers don’t want to feel as if they’re intruding in someone else’s home. Store away eccentric artwork, personal memorabilia, and anything the buyer can trace back to the owner. You’re moving; use this time to get a head start on packing and storing objects.
Make Cleanliness a Priority
Cleanliness matters when it comes to the perception of your home. Ensure each room sparkles for the camera. Take a test photo and see if anything sticks out. Think of this as a preemptive cleaning before you show your home.
Step 2: Taking the Shot
We’ll assume you aren’t a professional photographer if you’re reading this post. Here’s a few affordable hardware and software solutions—matched with professional photography tips—to get you snapping real estate photos that sell.
Establish Conditions
Now that your house is camera-ready, how do you utilize light and conditions to enhance your photography? The more light you let in, the better. Stick to natural lighting and shoot during optimal conditions.
Each property will have unique exposure to sunlight, depending on your location. Take the same photos at four different times of the day to find optimal conditions.
Recommended Hardware and Software
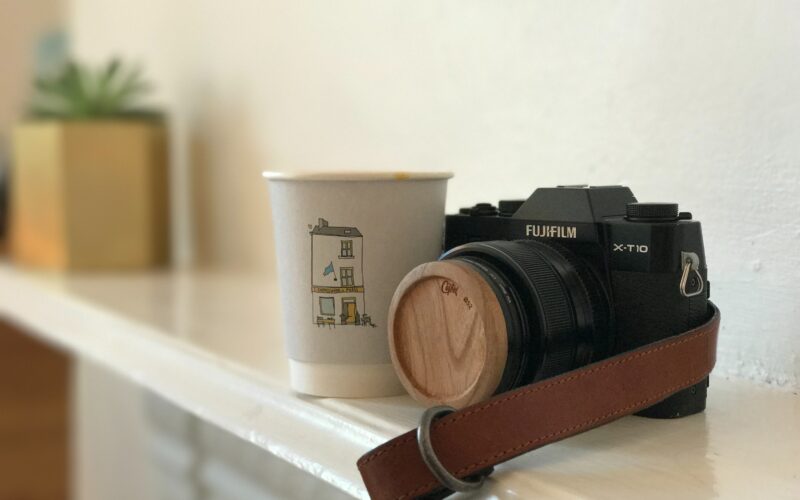
If you own a proper DSLR camera, by all means, shoot your photos with it. Otherwise, you might need to get creative. Luckily, modern phone cameras are surprisingly powerful and can be augmented with software. The best cameras include the iPhone 11+, Google Pixel 5, and Samsung Galaxy S20 devices, which feature an ultra-wide lens, a powerful asset in real estate photography.
If you’re not sure what you have, look for a camera with at least 12MP. If your camera doesn’t have a wide-lens option, purchase a 10mm-15mm wide lens attachment off Amazon for $20-$100—it’s worth it.
It’s also a good idea to employ software to enhance your camera’s capabilities. Some of the best programs include Camera+2, ProCamera, Camera ZOOM FX, and Moment Pro. These are all either free or relatively inexpensive. The built-in photo apps are plenty powerful; these apps are for those who desire extra features.
Professional Photography Tips
Now that you’ve prepped the house, decided on a camera, and downloaded any applicable apps—it’s time to start shooting! Here are seven pro-tips to make your pictures jump off the page:
- Shoot into the corner of a room to capture the most surface area possible.
- Crouch, around waist level, when snapping a photo. Replicate this height throughout the entire photo shoot.
- Contrast your corner shots with “straight-on” shots to showcase symmetry.
- Remove and move items that don’t fit as you build your photo catalog.
- Add detailed, close-up shots to your portfolio for variety.
- Use mirrors and different angles to your advantage, be playful, and don’t rush the process.
- Assemble roughly 12-20 different photographs of the exterior, rooms, standout features, and anything else you want to display. Keep in mind that 95% of buyers spend the most time inspecting the exterior photos.
Step 3: Post-Production Editing and Listing
After you’ve taken the photos, the work isn’t over. It’s time for some light editing. Here are some software solutions, editing tips, and ideas on posting the pictures in the listing.
Software Recommendations
You don’t have to be a master editor to brighten up a photo or enhance it with a filter. Just make sure you’re consistent in your efforts. The best software for editing is Adobe Lightroom—but the price tag can be daunting, especially for hobbyists or part-time photographers.
Some effective alternatives include Superseed and Afterlight 2. If you’d rather pay someone to edit for you, check out BoxBrownie, which charges $1.60 per edited image.
Professional Editing Tips
There are a few easy steps you can take to produce professional-quality edits yourself. For real estate photography, the most critical functions include color correction, straightening lines, evening out mismatched indoor lighting, and enhancing clarity. Use the same editing process for each photograph to ensure consistency. While it might be tempting to go overboard with edits, keep things natural as buyers will appreciate the gesture.
Listing the Home
When it’s time to post the photos, don’t just dump them on a website. Your photos should tell a story and capture the viewer’s attention. Only use high-quality JPEG or PNG formats. Beginning with the exterior, select generalized photos, and move towards granularity for noteworthy features.
Go from room to room in the house and apply this method. The buyer will feel as if they’re discovering each room and its features. People will often build an attachment to the journey itself, not just the home.
Step 4: Consult With a Real Estate Agent
Best practices include sitting down with a real estate agent and discussing the photography for your listing. Ask them for their recommendations on local photographers if you want to outsource the task, see if they’re willing to take the pictures for you, and brainstorm the best shots to feature your home.
Once you have the photos in hand, review other important listing information like property descriptions and pricing. The right agent will be able to guide you through these processes and, in many instances, handle everything for you!